Beef Round Sirloin Tip Roast Jerky Recipe Using Dehydrator

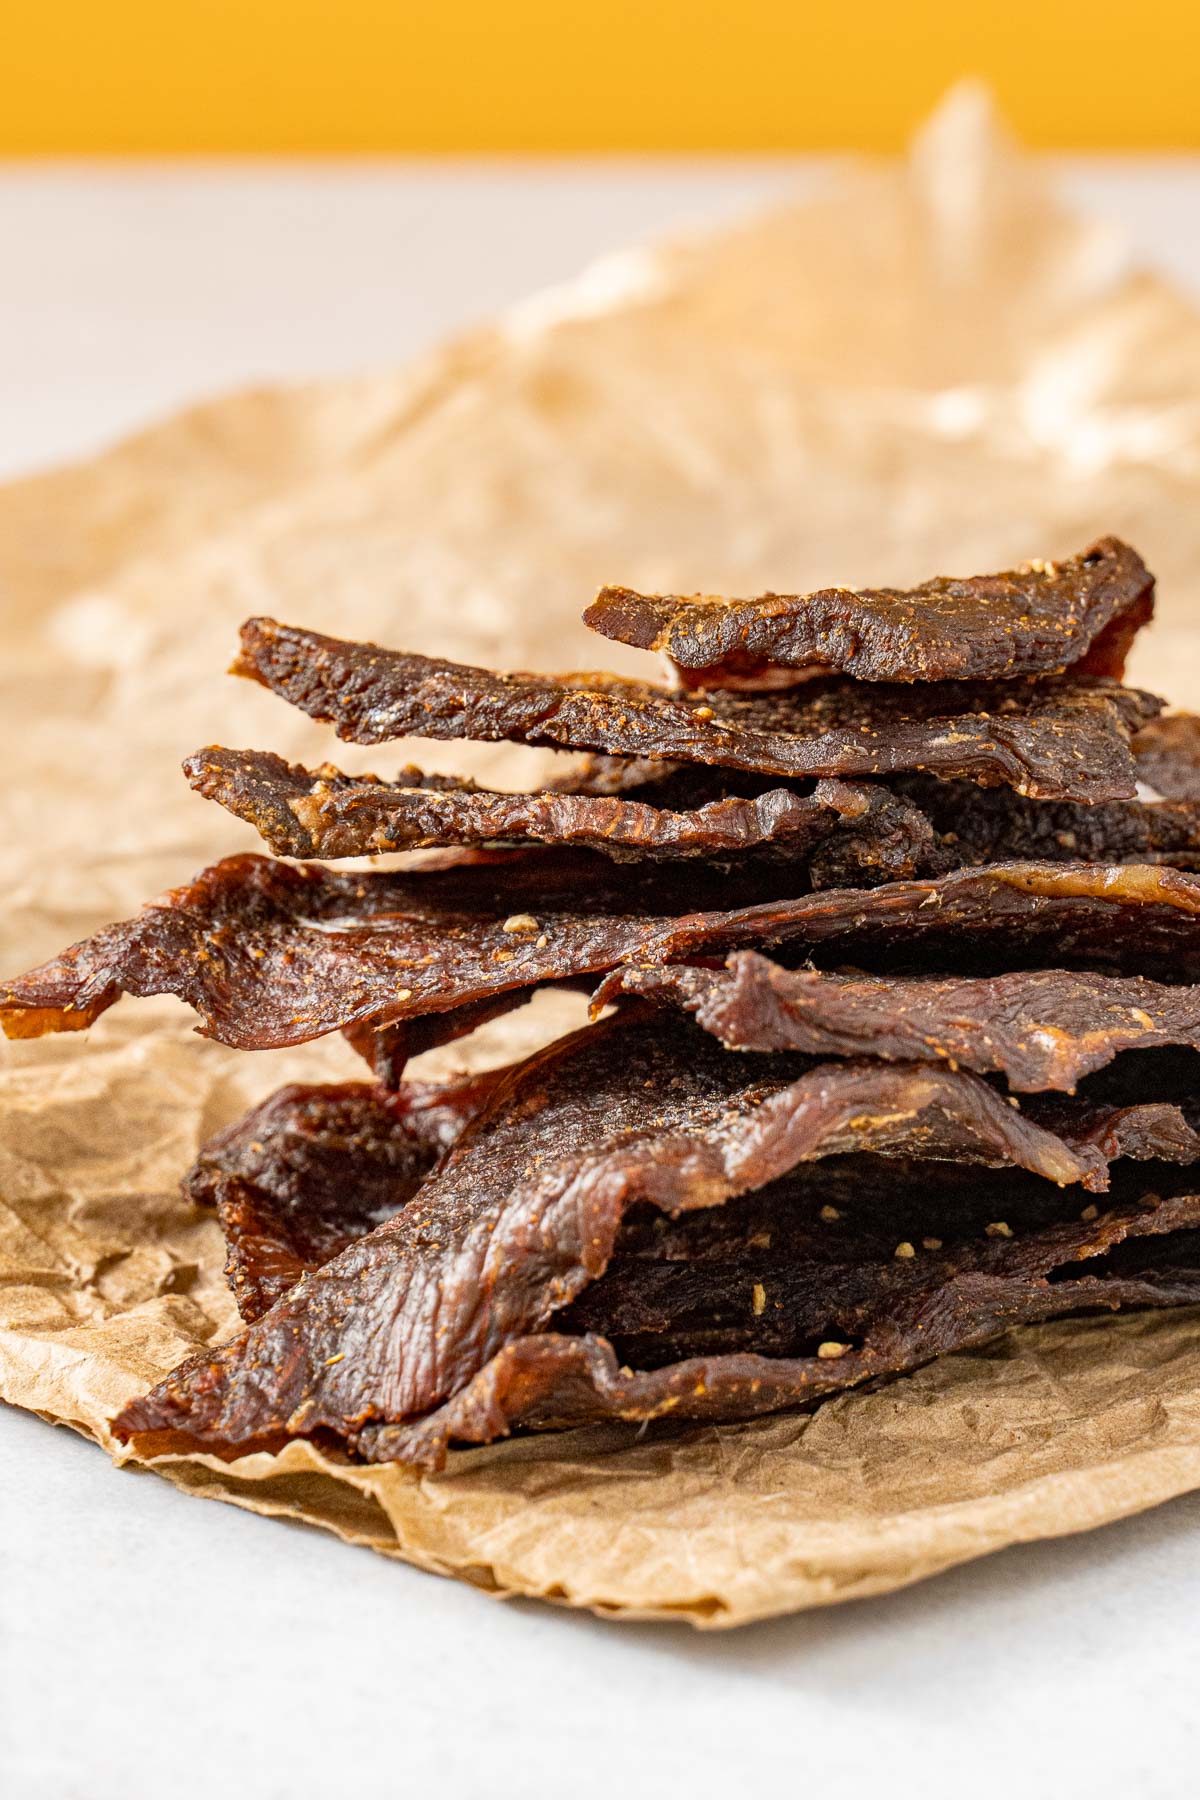
Smokey, salty, and just the right amount of sweet, beef jerky is a perfect snack for hiking, camping, and road-tripping. Learn how to make your own flavorful and tender beef jerky using either a dehydrator or an oven!
Making your own beef jerky at home is not only incredibly simple, but it is also much much cheaper than buying store-bought jerky. Plus, you'll be able to control all the ingredients that go into making it; no weird stabilizers or unpronounceable additives.
So if you're ready to start making your own beef jerky, you've come to the right place. In this article, we share everything we know about making tender homemade beef jerky.
Why We Love It:
- Versatile hiking, camping, travel snack
- WAAY cheaper than buying store-bought jerky
- Great way to make use of cheaper cuts of meat
- Lots of opportunities to develop your own customize flavors
Quick Tips for Making Beef Jerky
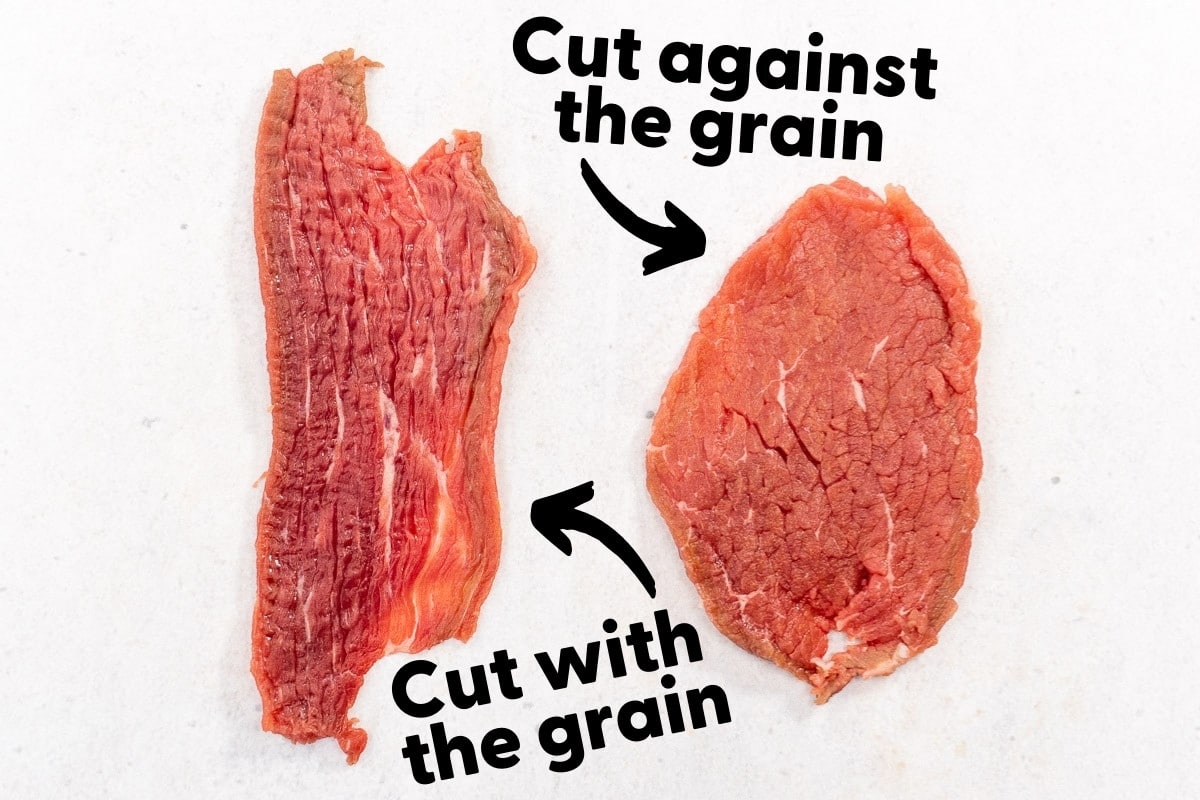
- Chewy = cut with the grain. Tender = against the grain.
- Partially freeze your beef before slicing it. Firm beef is much easier to cut.
- Tenderizing your beef with a mallet is definitely worth the effort
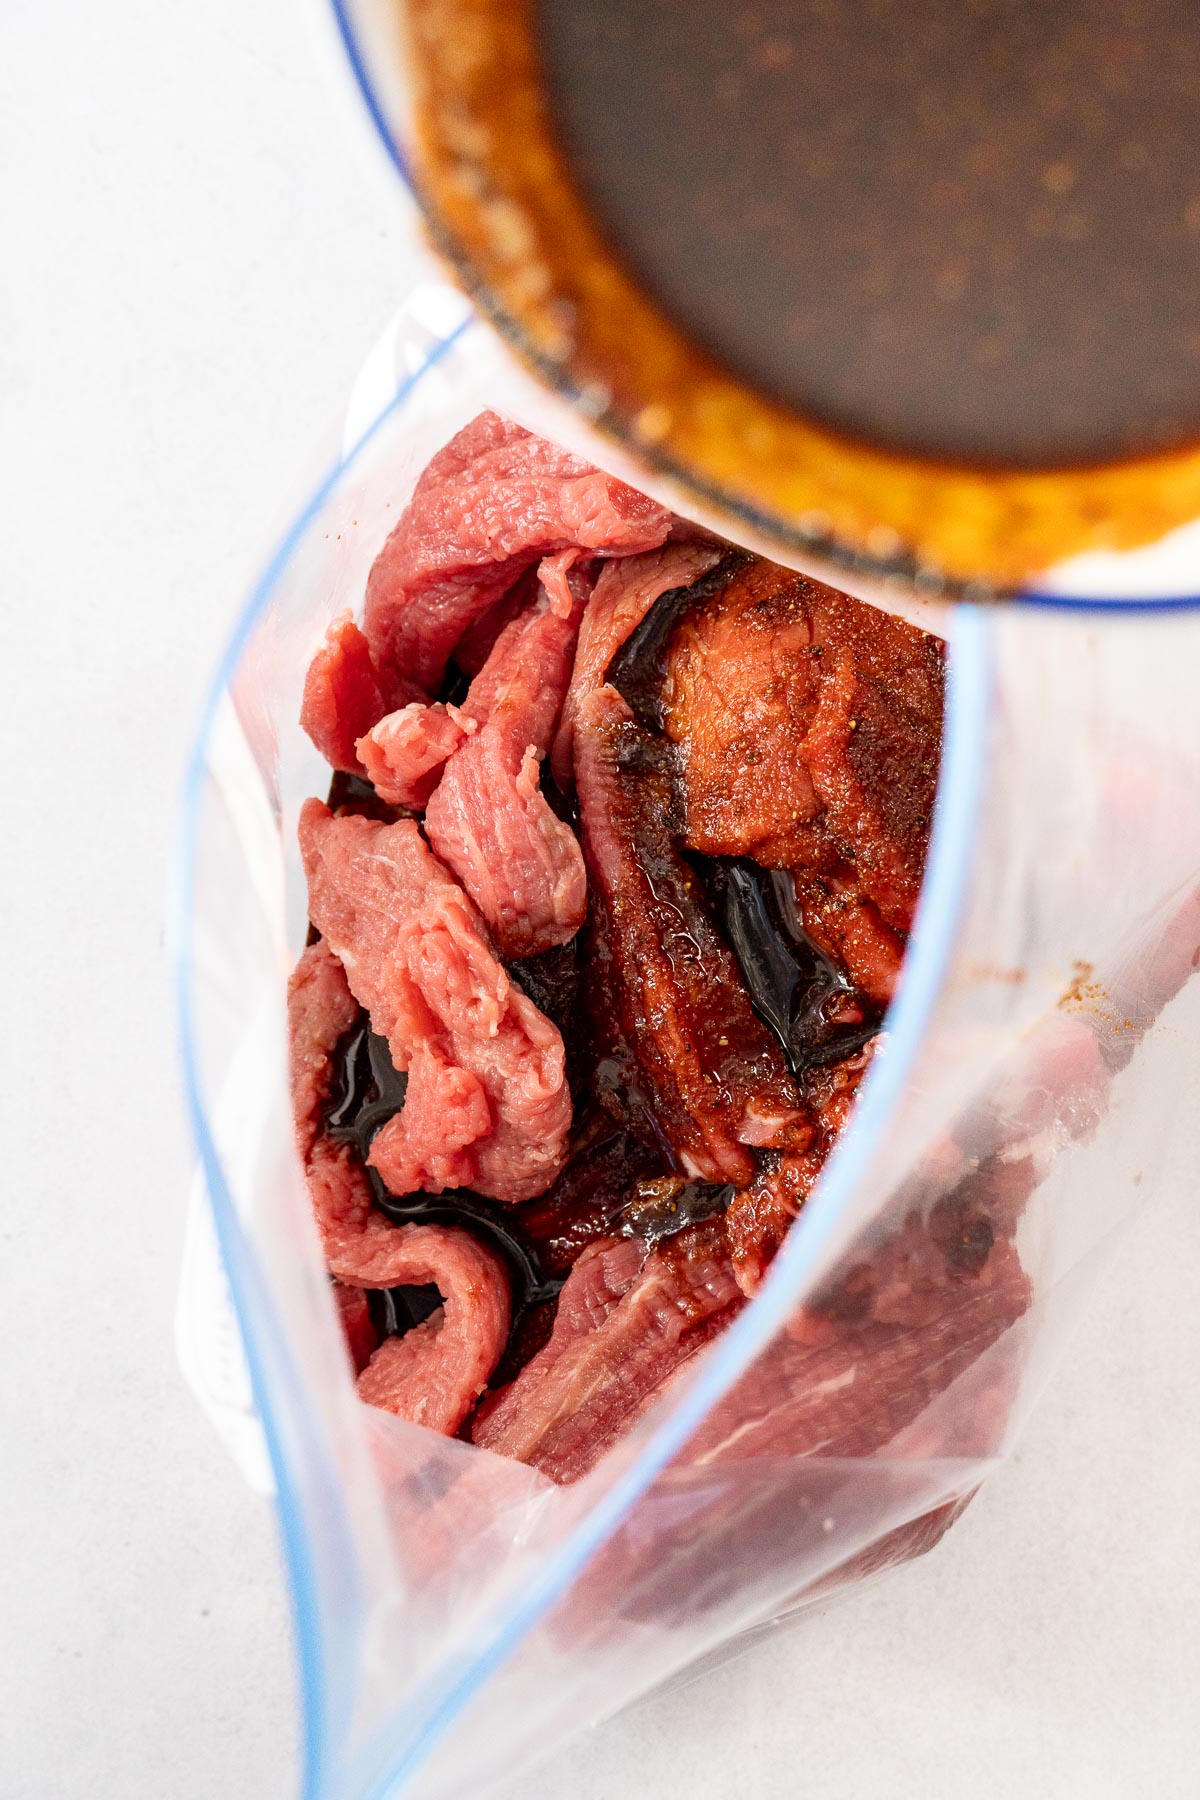
- Use a Ziploc bag or reusable alternative for the marinade, which allows you to coat each strip of beef by massaging the outside of the bag.
- Preheat your dehydrator, and dehydrate at 160 F to ensure beef remains at food-safe temperature.
- Set a timer! Beef jerky can become over dehydrated if left in for too long, so you will want to pull it before 100% of the water has evaporated.
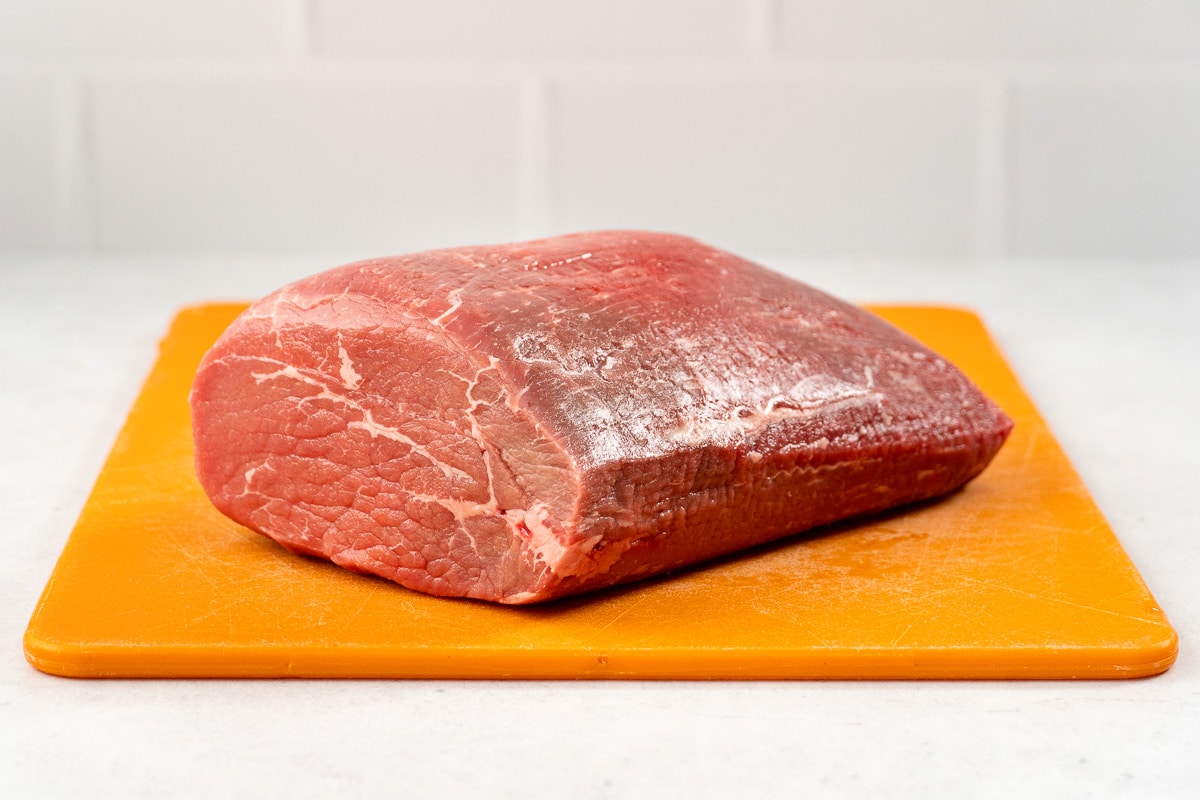
Best Cuts of Meat for Beef Jerky
Any lean cut of beef will work great for making jerky. In fact, when you're selecting a cut for your jerky, the leaner the better.
The reason is that fat doesn't dehydrate. Water moisture will evaporate out of the beef during the dehydration process, but the fat will remain. And excessive amounts of fat can lead to your jerky going rancid.
So while a nicely marbled ribeye steak might be great for searing, all that intermuscular fat will be no good for making jerky.
By going with a lean cut of beef, you reduce the amount of fat you need to cut out. Plus, these are often the cheaper cuts of meat!
These are our go-to cuts for making beef jerky:
- Top Round
- Eye of Round
- Top Sirloin
- London Broil
However, if you're looking for a really "primo" cut of beef to use for jerky, we'd suggest using flank steak. It's by far the priciest option, but it has a really great flavor and can be cut into long thin strips.
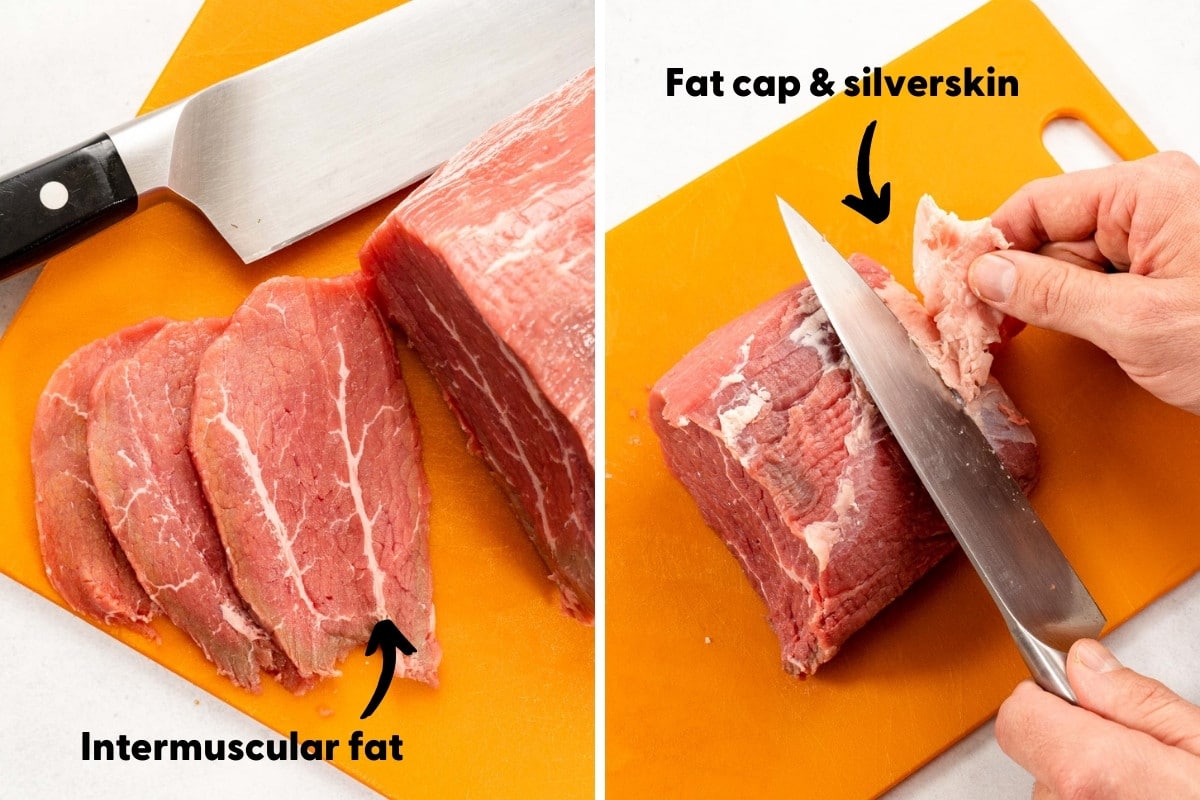
What Do With Fat?
Nearly all cuts of beef come with some amount of fat, but not all of it needs to be removed.
You will want to cut away any large caps of fatty gristle. This can be accomplished by running your knife underneath it, lifting up a tab of fat, and shaving away at a shallow angle with your knife.
You may also notice some thin "veins" of intermuscular fat running through the meat. Whether you want to cut these out is entirely up to you.
If you are really trying to maximize storage life, you can go ahead and carefully cut these out. But if you're planning on eating in your jerky relatively soon, it is fine to leave them. We only ever cut out the really big line of fat and leave the rest.
How to Cut the Beef
After you've selected the cut of beef, the next step is to decide which direction you want to slice it.
There are two schools of thought on this:
- If you want your jerky to be chewy then you will want to cut with the grain.
- If you want your jerky to tender, you will want to cut against the grain.
We tend to favor slicing against the grain, but it's totally up to you.
In terms of thickness, you want to slice the beef as thin as you can. Perhaps not paper-thin (which is kind of impossible with beef), but somewhere in the ⅛ to ¼ of an inch zone. If the jerky is too thick it will be harder to dehydrate and will end up being much tougher to chew.
If you are buying your meat from a butcher counter, the easiest way to slice your beef is to ask the butcher to slice it for you!
This is usually a free service, plus they have these amazing industrial meat slicing machines, so each piece will come out perfectly uniform.
No butcher around? No worries! It's easy to slice the beef with a knife at home IF you follow this one trick!
To make the beef easier to slice, place it in the freezer for 1-2 hours beforehand or until it becomes semi-frozen. (not frozen like a rock, just firm) Beef is so much easier to slice when it's semi-frozen.
Also, it might seem obvious, but use a sharp knife! Dull knives cause all sorts of kitchen accidents, and, in this particular instance, makes cutting the beef absolutely excruciating. A recently sharpened knife will make this process so much easier (and safer!) We own this Chef Choice Model 15XV and it works great.
The Importance of Tenderizing
One of the most common complaints about beef jerky (whether homemade or store-bought) is that it feels like chewing tree bark. We get it, nobody wants to gnaw away on a beef-flavored woodchip. So what's to be done?
The first thing you can do is choose the right direction to slice your beef, which we covered above. Against the grain = more tender.
The next thing is to make sure you properly tenderize your meat. There are two ways to go about this: manually or with a powder.
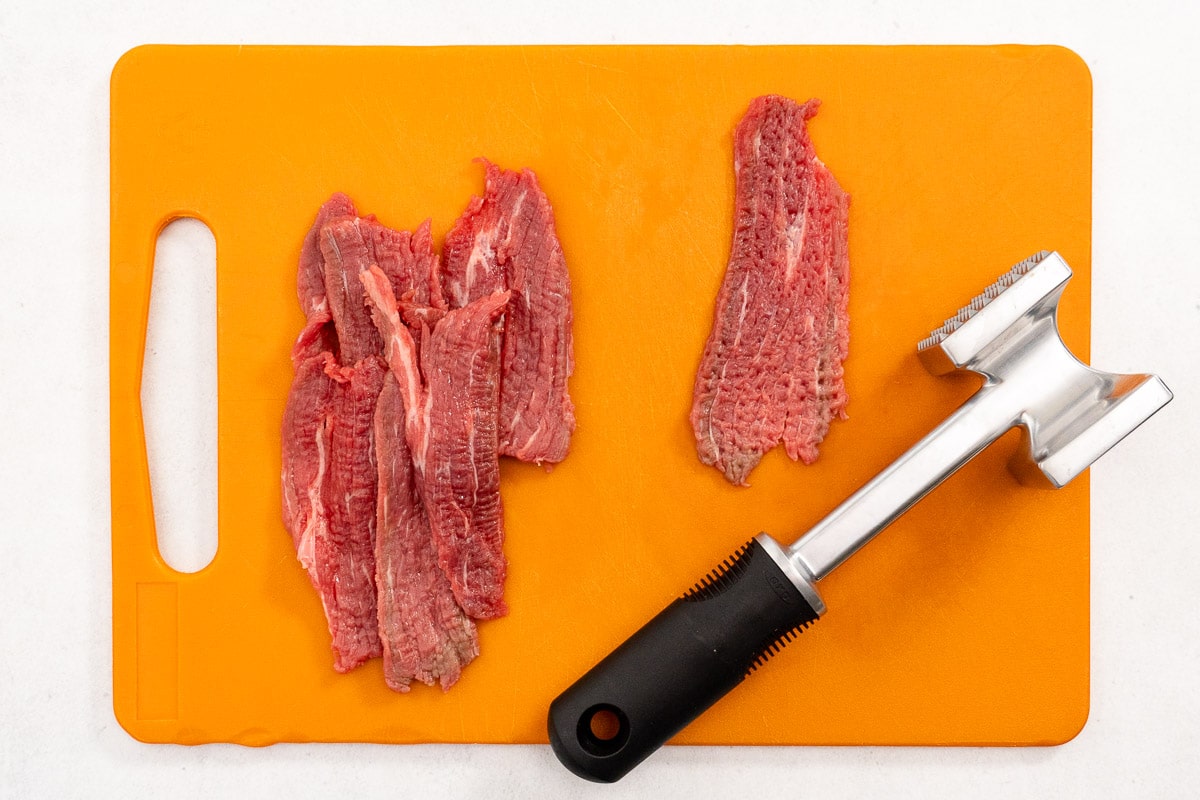
Pounding the beef with a meat tenderizing mallet will physically break down the muscle fibers, resulting in a more tender texture. While a little labor-intensive this method is very effective (sometimes a little too effective). Make sure not to over tenderize! The beef slices need to retain some structure! You don't want to pound them into mush. This method also has the added benefit of helping to ensure the slices are all pounded to an even thickness.
Meat tenderizing powders are made from enzymes. They are most commonly derived either from papain, which comes from papayas, or from bromelain, which comes from pineapples. These can be sprinkled onto the beef and will start working to break down the fibers as soon as it gets placed into the dehydrator (activated by heat).
The other essential part of tenderizing is using a well-salted beef jerky marinade. Salt will naturally start to break down the muscle fibers, yielding a more tender jerky.
Beef Jerky Marinade
Just like with BBQ sauces, the marinade is the secret X factor in every beef jerky recipe. The exact ingredients and proportions are often highly coveted trade secrets.
Thankfully you won't have to twist our arm to get our recipe (it's in the recipe card below!) Our recipe does a great job recreating that classic "original" jerky flavor, but you can totally adjust the spices to make this recipe your own.
Just remember not to add any fats/oils to your jerky marinade (lots of grilling marinades call for fats) if you plan on storing it for any length of time.
Which is Better: Oven or Dehydrator?
You can make delicious tasting beef jerky using either. However, you will get better and more consistent results if you use a dehydrator.
Dehydrators offer much better temperature control (especially at the lower temperatures needed for dehydrating) and they provide vastly better airflow.
We will give instructions for both methods, but if you want to get serious about making jerky then you will want to consider picking up a dehydrator. They can be very affordable and have a ton of other great uses.
Equipment Spotlight: Dehydrators
If you're in the market for a dehydrator, we recommend buying one that has an adjustable temperature, which will allow you to dial in the drying temp to give you the best results for individual ingredients. The dehydrator we use and recommend most often is the COSORI Premium. You can find our other favorite dehydrators here.
How to Dehydrate Beef Jerky
To dehydrate your jerky, preheat your dehydrator to 160F. If you're using your oven, preheat to 160F or as low as you can set it.
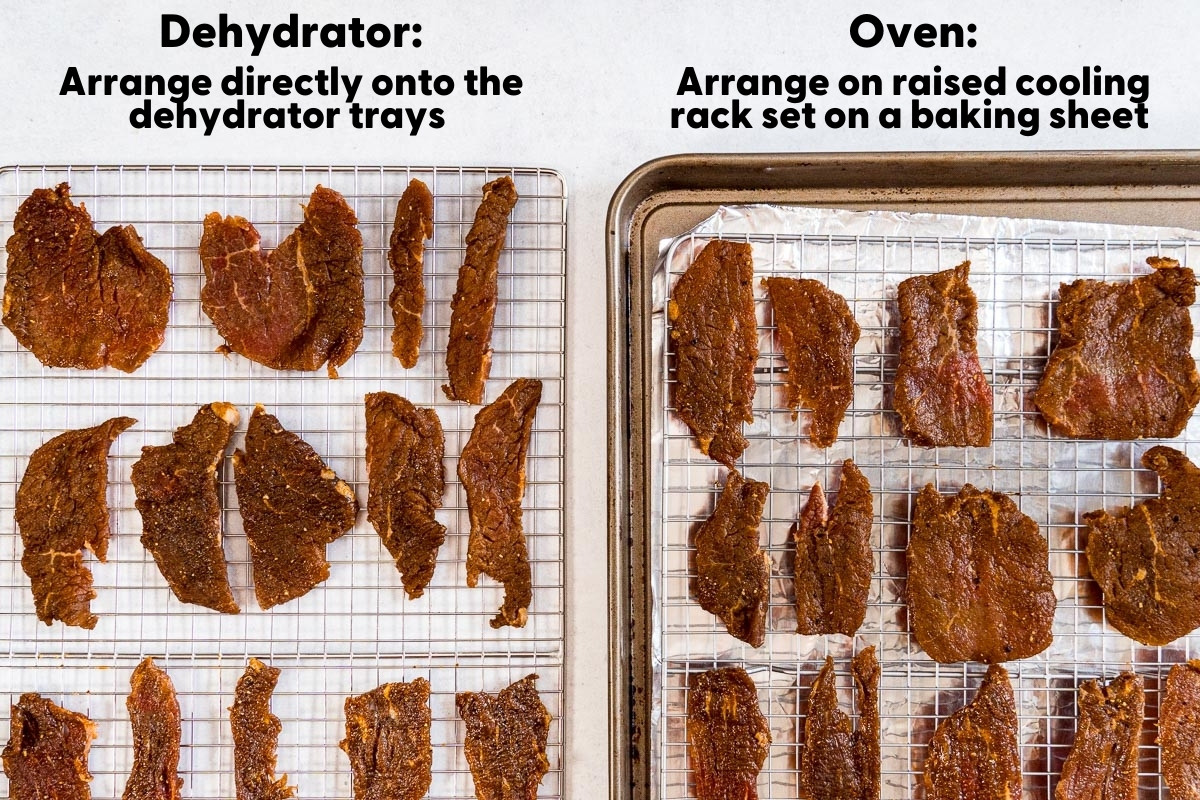
Load the trays, making sure no pieces of meat are overlapping, and then place them into the dehydrator or oven.
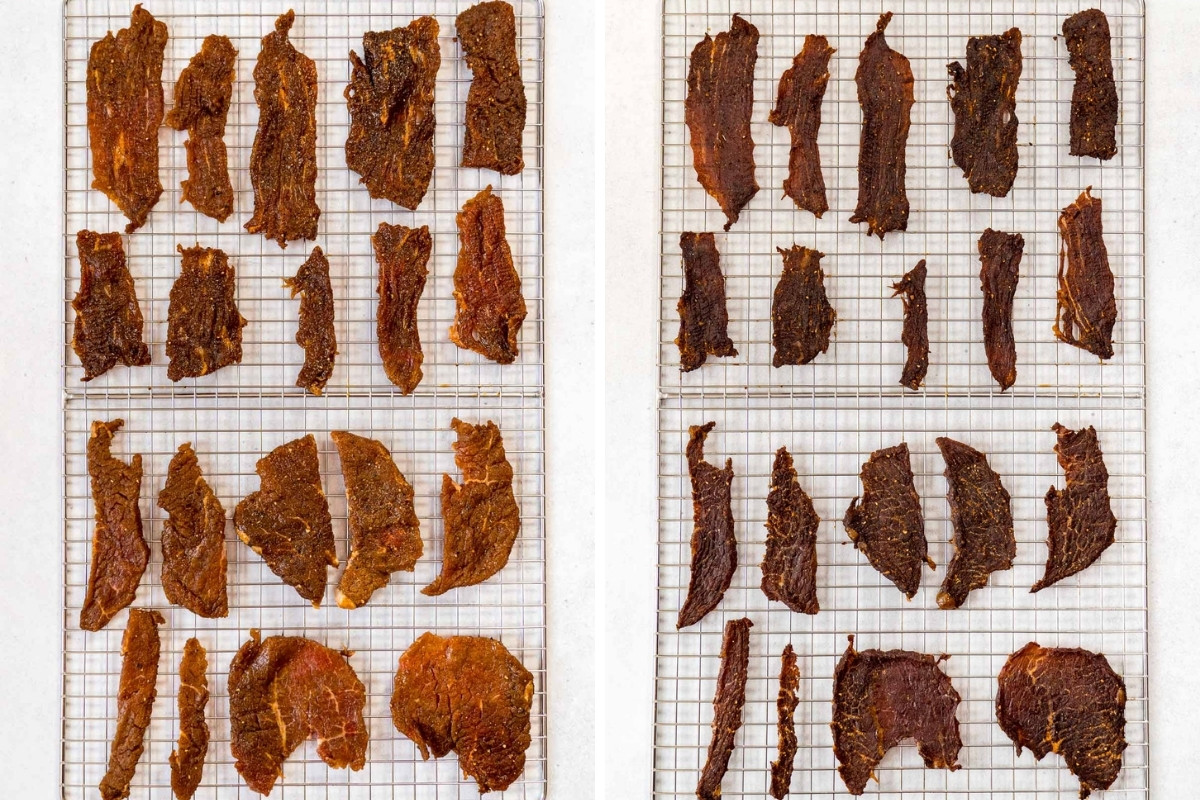
The drying time will depend on how thick the beef was sliced, total load, humidity in your space, and your particular machine–double check your dehydrator's manual. We find that jerky usually takes between 4-6 hours. Every so often, use a paper towel to blot any fat, and shuffle or rotate the trays if needed to promote even drying.
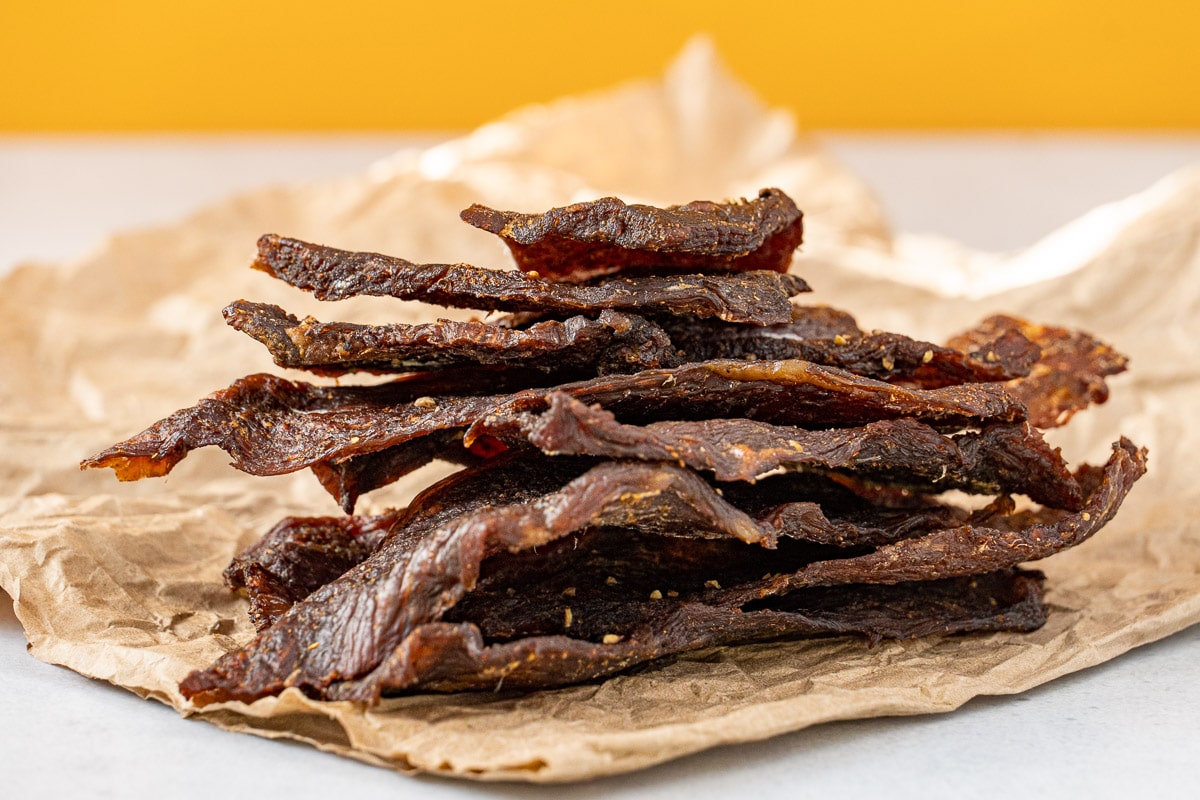
Properly dried jerky should crack when bent, but not break. Be sure to test using a cooled piece.
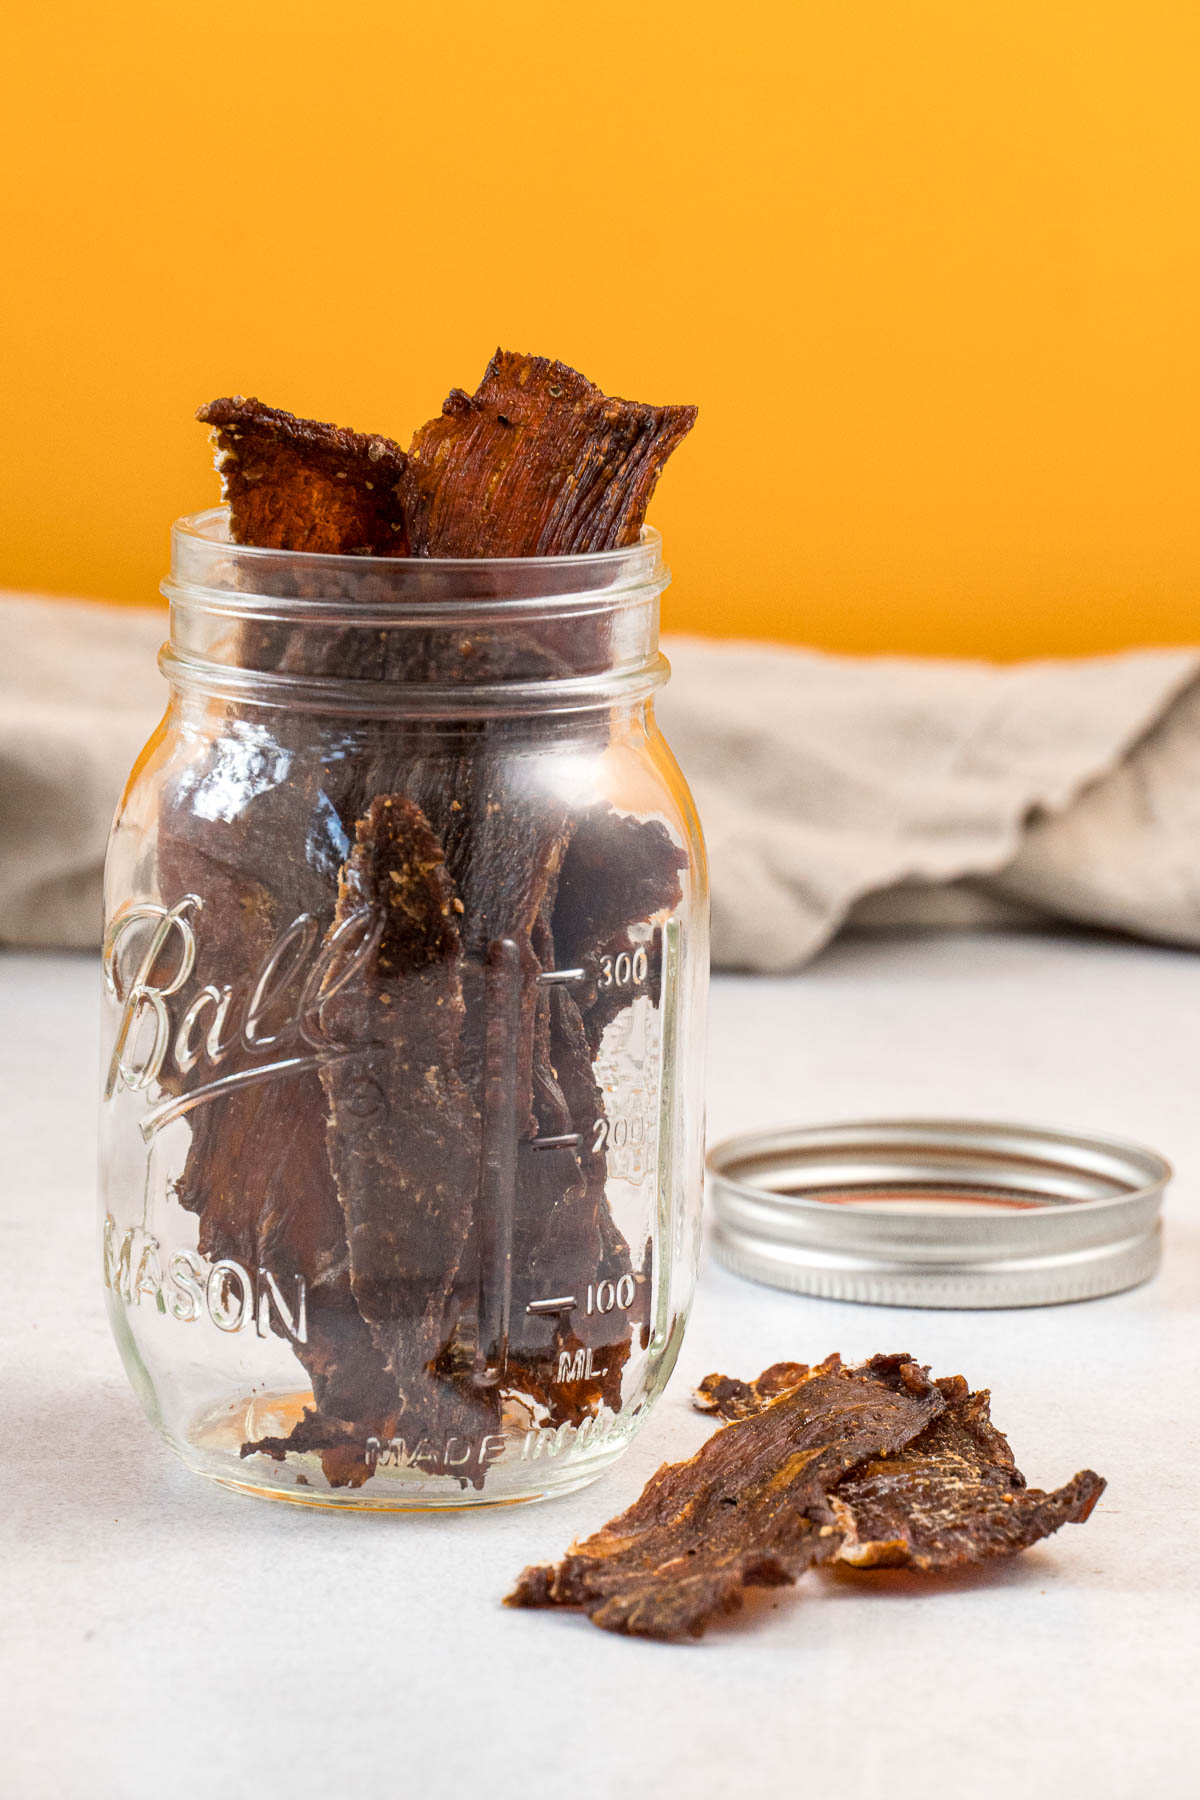
Best Ways to Store Beef Jerky
How you store your beef jerky will often depend on when you intend on eating it. The longer you want to store it, the more specific the storing process needs to become.
Up to a week: Beef jerky will be fine for up to a week in a non-airtight reusable or plastic baggie. The less exposure to air the better, and it's a good idea to keep out of direct light.
Up to a month: You will want to use an airtight container (Mason jar, resealable container with gasket lid). It can be stored at room temperature but should be kept away from direct light.
3-6 months: For anything over a month, beef jerky should be vacuum-sealed in an airtight container. FoodSaver makes a variety of ways of vacuum-sealing food either in plastic pouches or reusable Mason jars. You will want to store it in the refrigerator.
Up to a year: To maximize the storage time of your beef jerky, you will want to vacuum-seal it in an airtight container and store it in the freezer. You may also consider using a moisture-absorbing packet.
Other recipes you'll enjoy
↠ Teriyaki Beef Jerky
↠ How To Make Fruit Leathers
↠ Trail Mix Recipes
↠ Backpacking Food Ideas
- 2 pounds beef, (lean cuts are best & will keep longer)
- ¼ cup soy sauce
- 2 tablespoons worcestershire sauce
- 2 tablespoons brown sugar
- 2 teaspoons salt
- 1 teaspoon garlic powder
- 1 teaspoon onion powder
- 1 teaspoon smoked paprika
- 1 teaspoon black pepper
- 1 teaspoon meat tenderizer, *optional
Prevent your screen from going dark
-
Thinly slice the meat* and cut off all visible fat.
-
Pound slices with a meat tenderizer mallet until pieces are uniform thickness (aprox nickel width).
-
Place the beef strips in a zip-top bag. Mix remaining ingredients and pour over beef.
-
Cover & marinate for 12-36 hours. Shake the bag a few times as it's marinating to make sure the beef is evenly coated.
-
Spread the meat in a single layer, shaking off any excess marinade, on the dehydrator trays.
-
Dry at 165F/74C for 4-6 hours, occasionally blotting off any fat droplets that appear on the surface. Test using a cooled piece. Properly dried jerky, when bent, should crack but not break.
-
Package jerky in and air-tight container or vacuum seal (*see storage notes below). Store in a cool, dark & dry place.
*Partially freezing the meat makes it easier to slice. Cut with the grain for chewier jerky & cut against the grain for tender but more brittle pieces.
Storage Notes:
Properly dried and packaged jerky will keep for a week at room temp in a regular zip-top bag, up to a month at room temp in an air-tight container, 3-6 months in an air-tight container in the fridge, and up to a year if vacuum sealed and stored in the freezer.
Calories: 163 kcal | Carbohydrates: 4 g | Protein: 28 g | Fat: 4 g | Potassium: 395 mg
*Nutrition is an estimate based on information provided by a third-party nutrition calculator
This recipe was originally contributed by Kira and Brendon of Adventurehaks.com and was updated 11/21 with additional information | Recipe adapted from Allrecipes.com
Source: https://www.freshoffthegrid.com/simple-beef-jerky-recipe/
0 Response to "Beef Round Sirloin Tip Roast Jerky Recipe Using Dehydrator"
Post a Comment